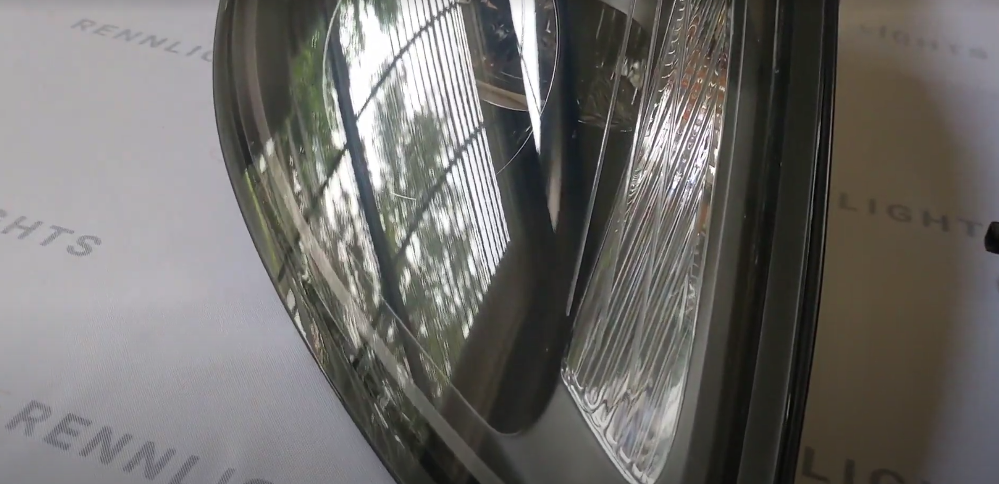
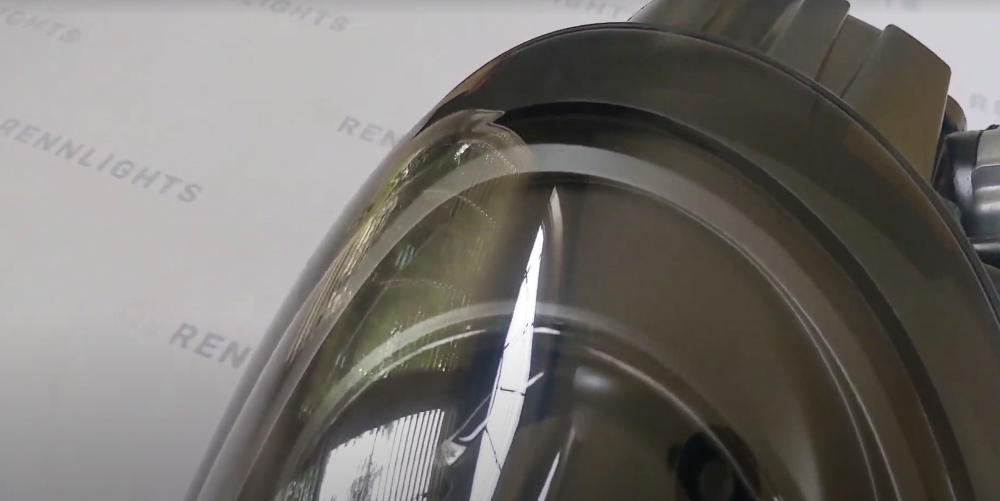
- headlight REPAIR DIY GUIDE
Here are the steps for performing the DIY headlight cover replacement:
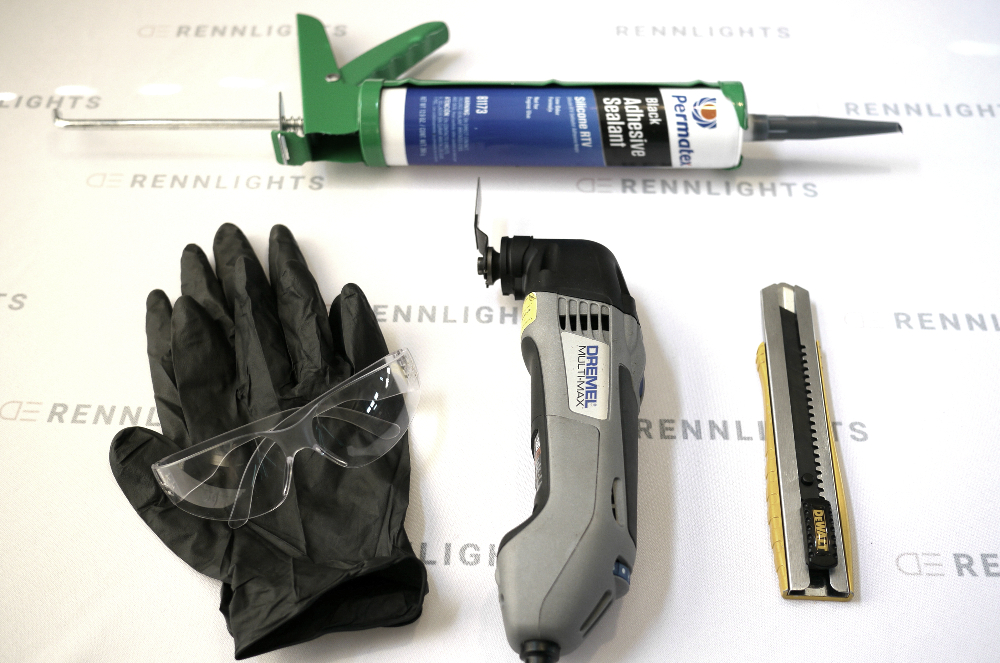
Items needed will include the following plus a set of needle nose pliers
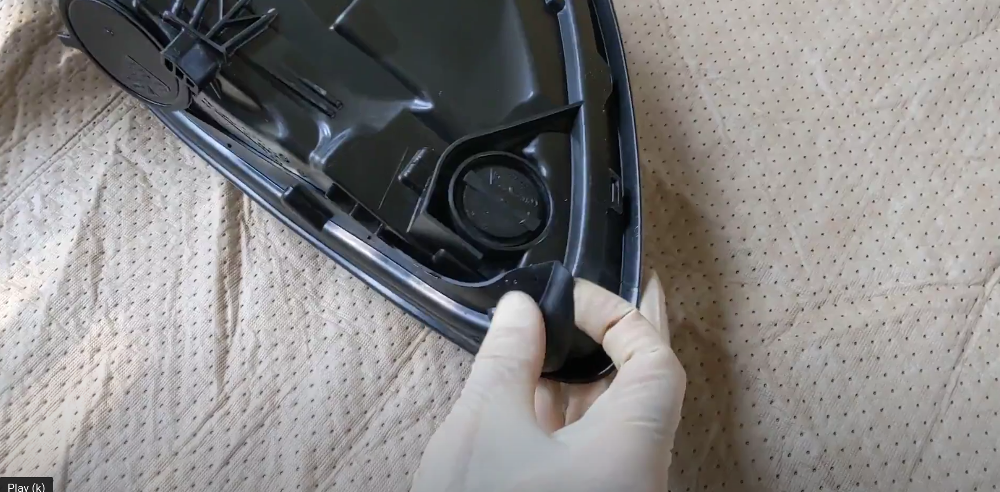
Begin by removing the headlight seal that surrounds the cover
using the oscillating saw, begin cutting through the covers edge, just beneath the lip area. Be sure to not allow the cutter to go too deep as to make contact with and damage the inner trim
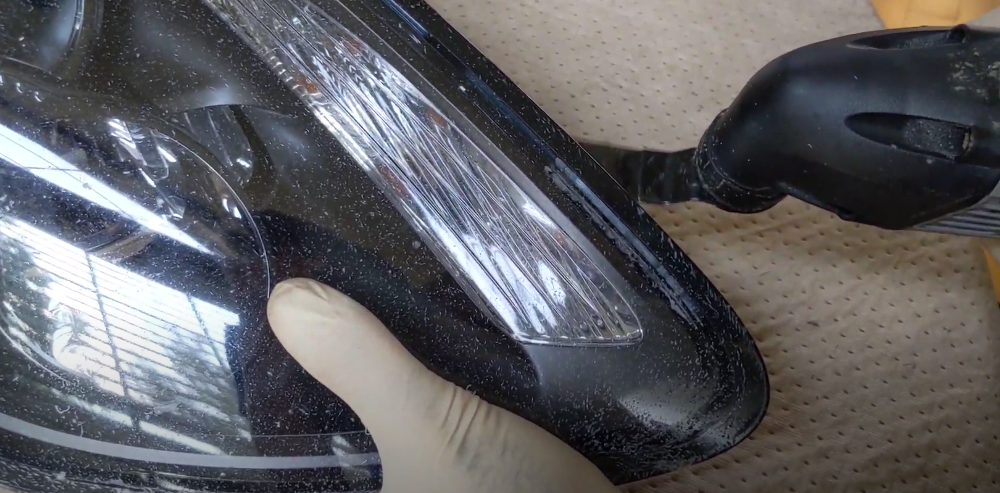
You will need to cut through the two lock tabs at the lower portion of the housing.
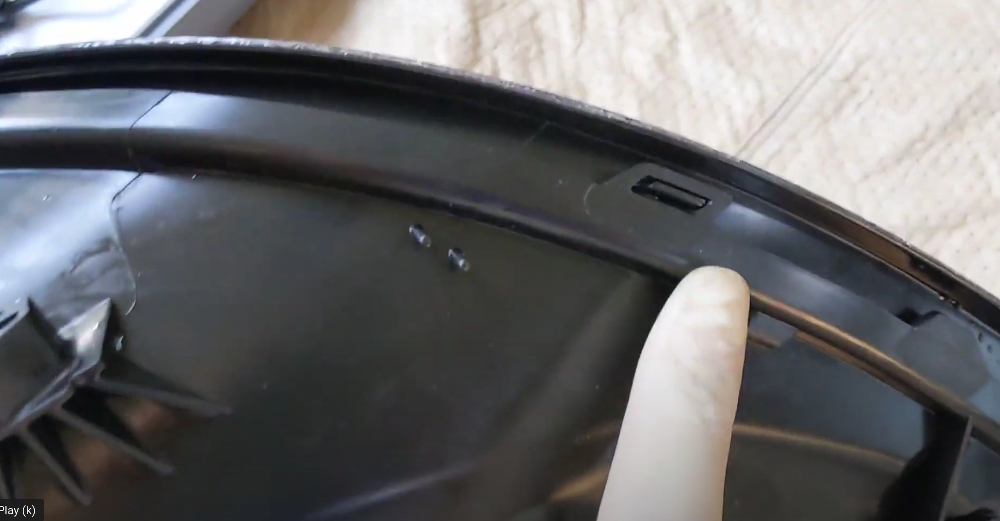
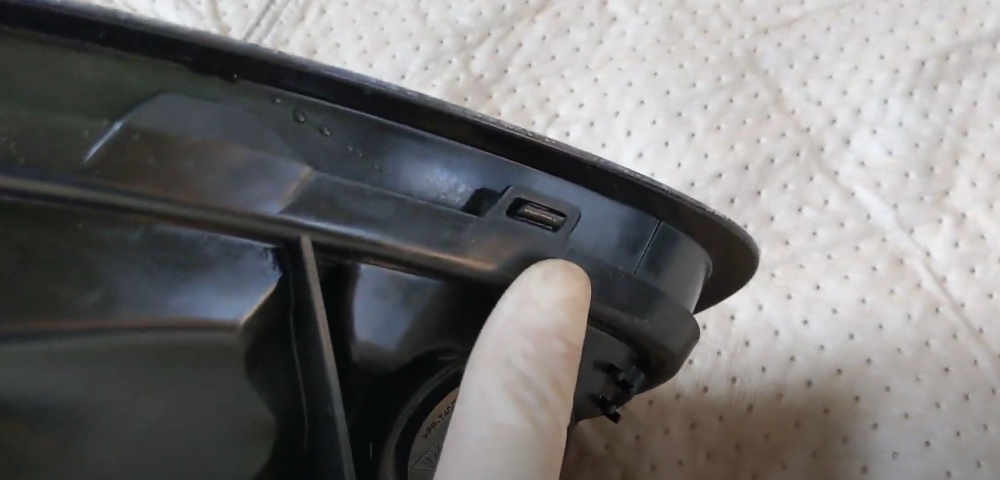
continue cutting around the cover edge until you reach the middle of the housing.
at this point the lip curves downward enough to cover the area you are cutting.
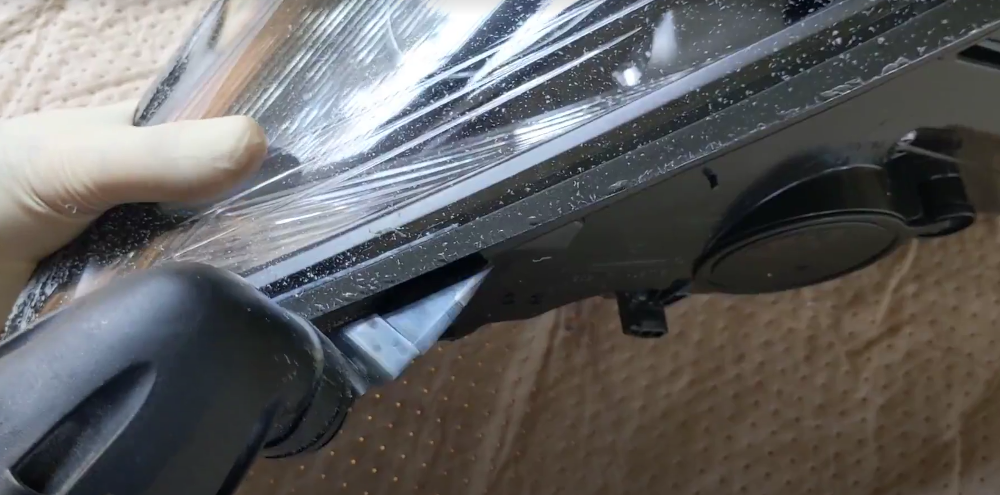
in order to continue cutting the edge you will need to remove the upper portion of the covers lip with the oscillating saw. This will allow you to expose the remaining portion of the edge allowing you to proceed and finish the perimeter cut.
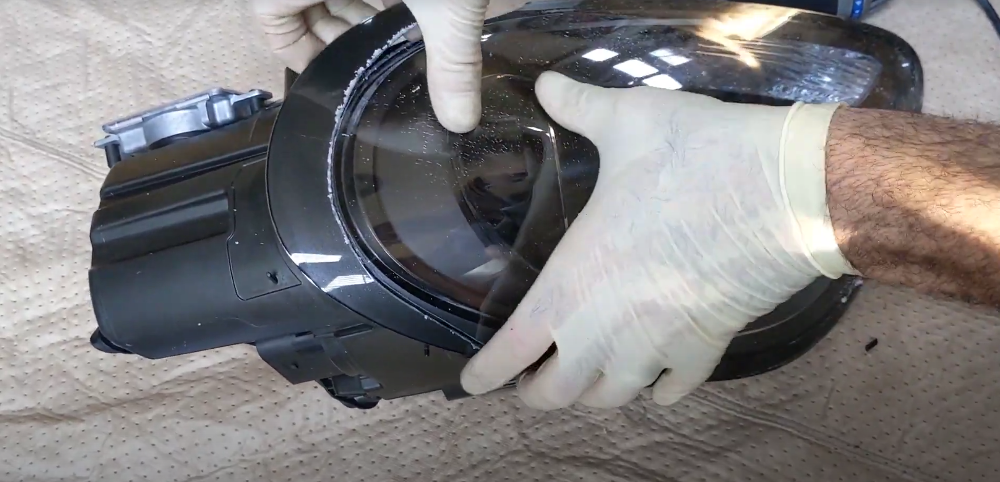
after you remove the cover use a long but sturdy utility blade to cut both the inside and outside edge of the channel.
using pliers, pry the remaining cover section out of the channel.
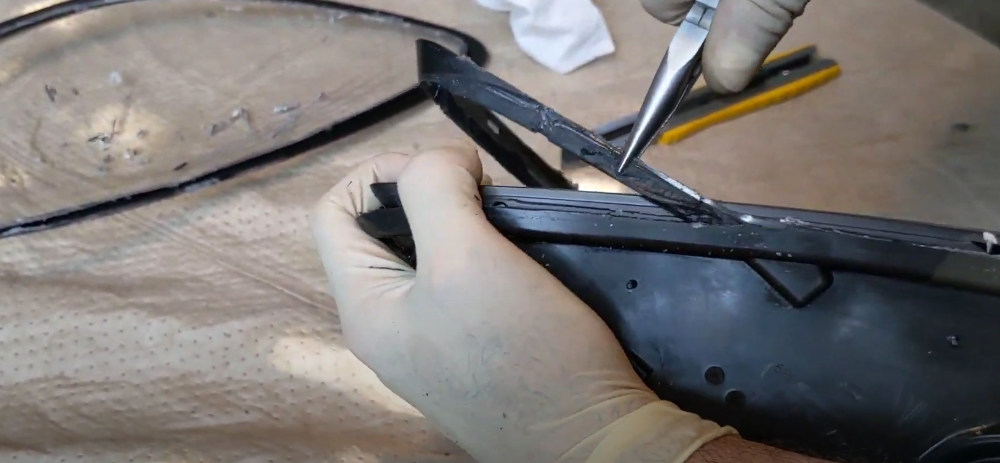
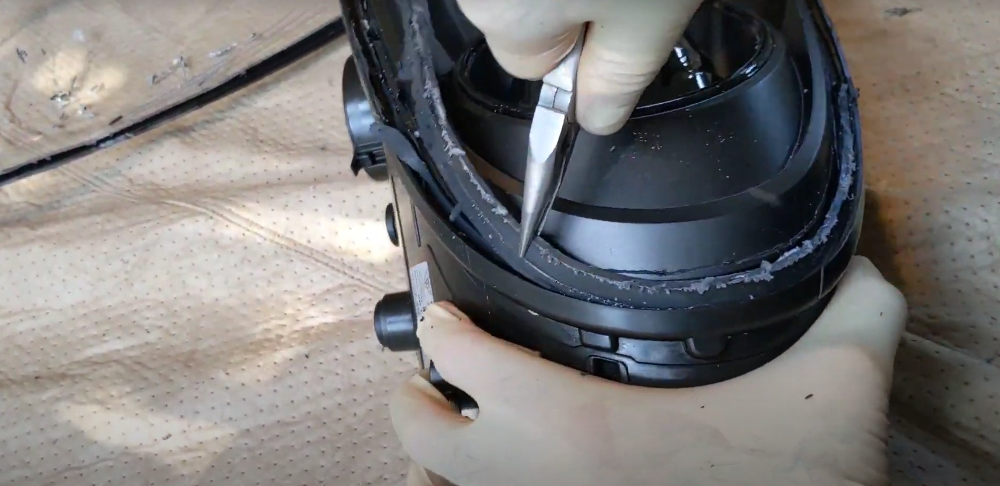
note: be sure to remove the short extension areas that are used to line up the cover when assembled.
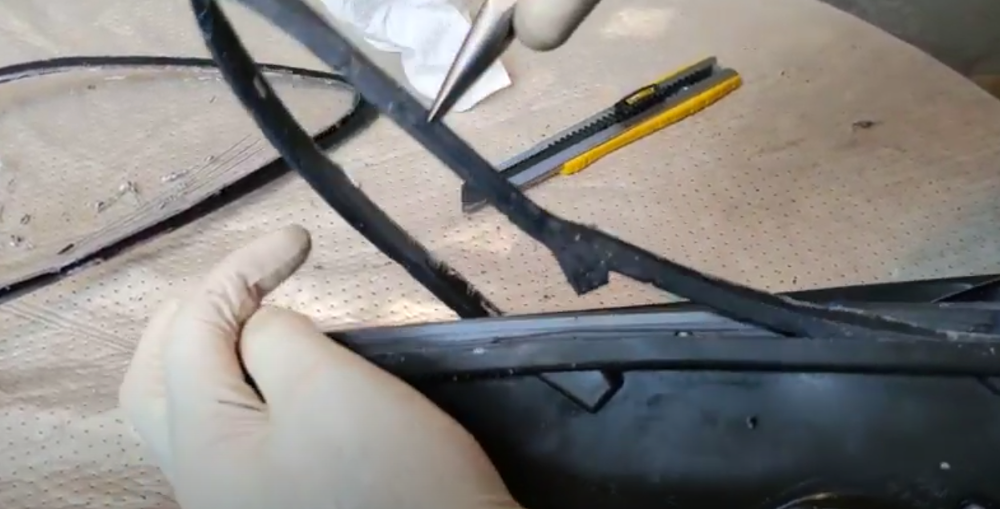
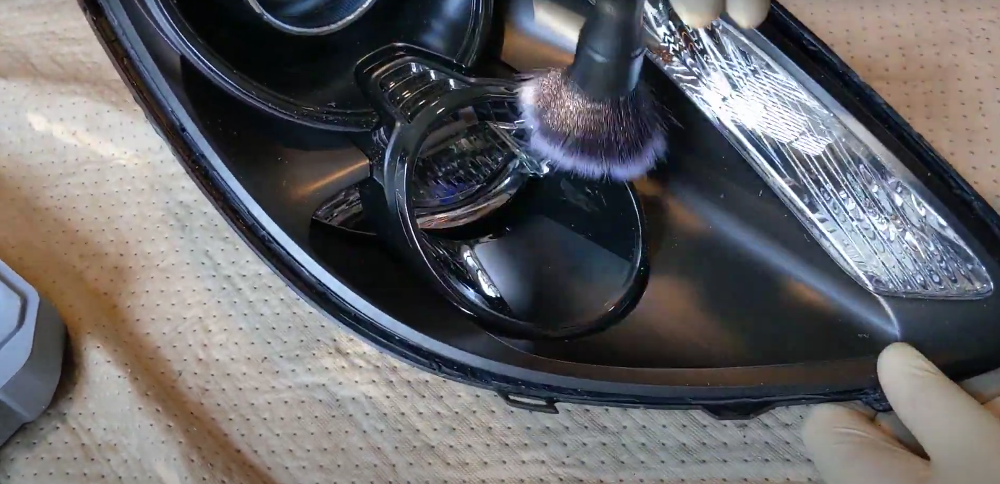
to prepare for assembly, thoroughly clean the inner parts of the housing and remove any dust or debris.
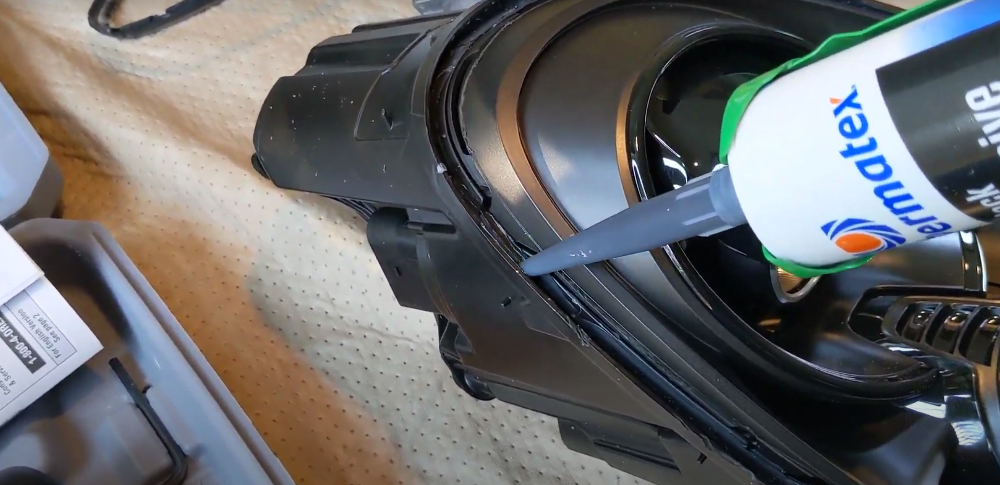
apply a small but continuous bead along the channel.
if too much is applied, the excess will be forced out of the channel after the cover is inserted and will be visible along the inside of the headlight.
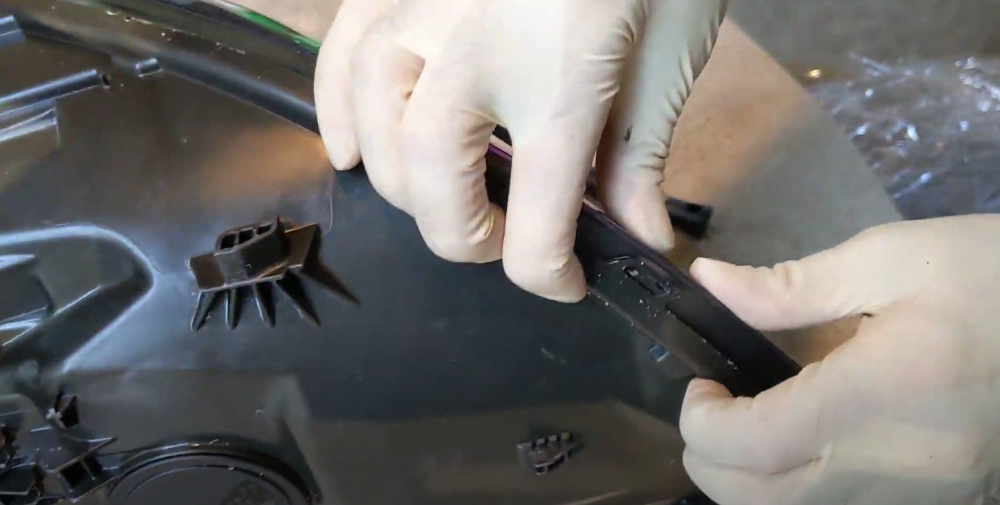
carefully align the cover to set it into the channel.
be sure that the upper edge of the cover, which has small tab, is positioned to go into the channel and not above.
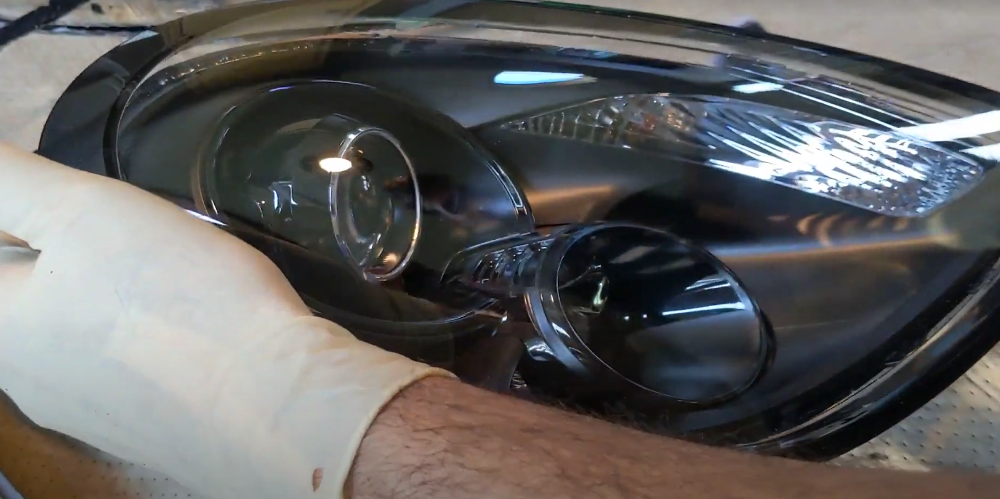
once set in place, apply pressure to force the cover far into the channel and then turn over the housing to verify that the locking tabs can be snapped into place.
allow the sealant to cure overnight before reinstalling the headlights.
in the meantime, enjoy the results of your efforts.
